Contact Sheet is something like contact print or thumbnail print. Contact Sheet is usually use to arrange or print out a large amount of images in thumbnail sizes for easy viewing. I will show you the steps of creating Contact Sheet.
click on images to enlarge
Step 1:
Select File > Automate > Contact Sheet II from the Photoshop Menu Bar.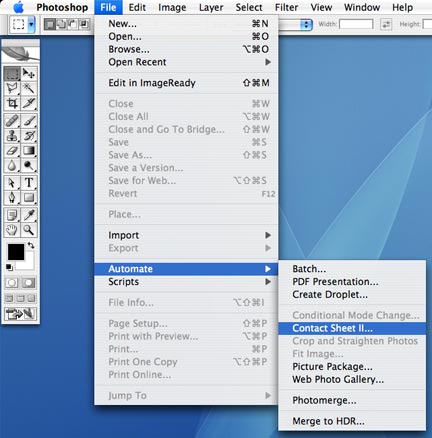
Step 2:
The Contact Sheet II pop out window will appear and you can start customizing your Contact Sheet II properties.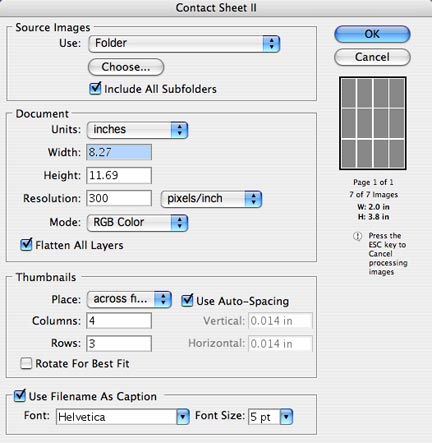
Step 3:
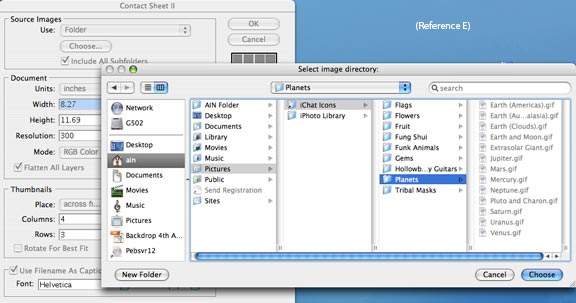
Source Images-
Start choosing the folder that contains the images that you wish to print by clicking the Choose button (Reference A). Another pop out window will appear for you to choose your image directory (Reference E). After selecting the folder, you can see that the the file tracking of the folder that you have chosen will appear next to the Choose button (Reference A).
Document-
This is to set your contact sheet document size, resolution and color mode. There are 4 color mode options (Reference B). I'm setting mine in A4 size, 300 dpi and in RGB mode.
Thumbnails-
This is how you would like to arrange the thumbnails on your contact sheet (Reference C).
Use Filename As Caption-
This is an option wether you want the file name of each images to appear below the thumbnails.
(Reference D) shows you a brief arrangement of the thumbnails, pages of contact sheet, amount of thumbnails/images in a page and the actual size of each thumbnails. Click OK button and Photoshop will automatically do it for you.
Step 4: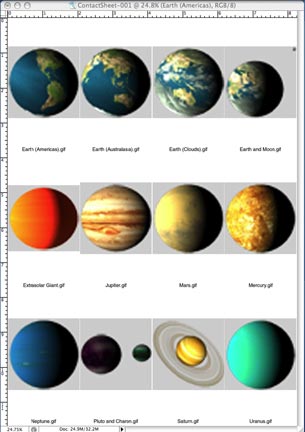
Walla! Your contact sheet is all done.
Note: Press the ESC key if you wish Photoshop to stop during the arrangement process.

blog of graphic resources and tutorial
0 comments
Post a Comment