
Backward Compatibility in Adobe InDesign CS2 allows InDesign CS users to open Adobe InDesign CS2 documents by first exporting them to the InDesign Interchange (INX) format. To open INX files from InDesign CS , you also need to first install an update for InDesign CS called Adobe InDesign CS 3.0.1 April 2005 (CS2 Compatibility Update). To determine if you have the update installed, see document 331403 , "Determine if you have installed InDesign or InCopy CS 3.0.1 April 2005 update."
Content that you create using functionality that is specific to InDesign CS2 might be modified or omitted when you open the file in InDesign CS. For example, footnotes and object styles (new features in InDesign CS2) drop out. However, the INX file preserves attributes applied to page objects using the Object Style palette attributes when possible.
To export an InDesign Interchange file from InDesign CS2:
1. Open or create a file in InDesign CS2.
2. Choose File > Export.
3. In the Export dialog box, select InDesign Interchange from the File Type menu (Windows) or Formats menu (Mac OS).
4. Click Save.
source: Adobe.com

For all of its life, Illustrator has always used Botticelli's Venus as its symbol. Then in the CS and CS2 versions, she went away, replaced by flowers. If you miss the old look, you can get a glimpse of the past by holding down the Option key ( PC: Alt key ) and choosing About Illustrator. In OSX on the Mac, it's under the illustrator menu, in Windows XP, it's under the Help menu.

Source fom: Illustrator CS2 Killer tips
Dave Cross/Matt Kloskowski
Step 1
Draw the shape you want in your pattern.Here's mine

Step 2
Select all the pieces and drag them into the swatches palette.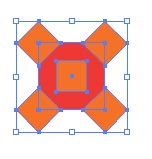
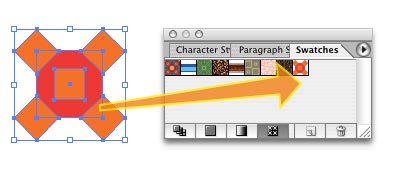
Step 3
Now you can use the pattern swatch to fill any object.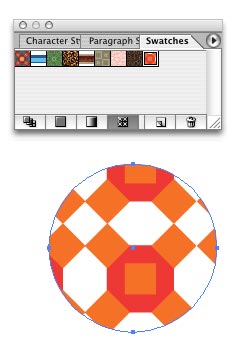
Here's a quick way to create banner using 3d effects in Illustrator
Step 1
Draw a path as shown below. Set the fill for this path to None and change the stroke colour to whatever color you like.
Step 2
Choose Effects> 3D>Extrude&Bevel. Use this setting
Be sure to check the preview button so that you can see the changes.
Click for larger image
Step 3.
here's the result
Simple isn't it. That's all for now. :-).
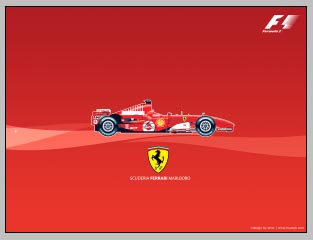
design 1 - Scuderia Ferrari Malboro 1024 x 768
design 2 - Scuderia Ferrari Malboro 1024 x 768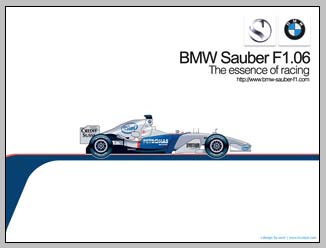
design 3 - BMW - Sauber F1 Team 1024 x 768
design 4 - BMW - Sauber F1 Team 1024 x 768
design 5 - Renault F1 Team 1024 x 768
PC: To apply a wallpaper to your desktop, simply click on the link... when the wallpaper window opens, right click on the wallpaper - and select ' Set as Background'
Mac User: Click on the link. Then save the image to your hard disk and use the control panel to set the picture as your wallpaper.
i'll update another design later..:-)
IMPORTANT NOTE: huzeyk blog recognizes that all registered names, logos and various terms used on the wallpapers are registered trademarks of their respective owners. These terms and images are used for identification and artistic purposes only.
There are number of ways in which you can use drag and drop to get content in and out of Indesign. Here are my favourites:
If you ever get a lot of content for a layout delivered to you in a folder full of images,logos, text files, etc., there's a fast and easy way to get the files into InDesign that will enable you to avoid placing them one by one.
Any file type that you can import into InDesign using the Place command can also be dragged and dropped into InDesign from the desktop.
What’s great about this feature is that you can drag and drop multiple files into
InDesign in a single step. You can drag and drop all the text and/or graphic files in a project folder into your InDesign layout in one step—and that could be a big time
saver if you’re looking at importing dozens of files.
When you drag and drop from the desktop, you’ll see the icons of the files you’re placing as your cursor moves into InDesign.
1.
Arrange your InDesign windows so that you can see the desktop folder from which you want to drag and drop the files.
2.
Select all the files you want to import,and then drag them into an InDesign document window. You’ll see ghosted versions of the icons. InDesign will cascade all the imported files when you release the mouse button, and it will use the position of your cursor as the starting point for the distribution of the placed files.
Here you see the files I dragged into my layout.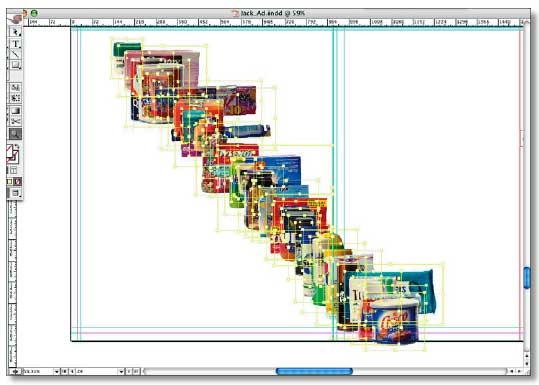
cool eh?
source:Adobe Tips, Tricks and Techniques - Adobe Indesign CS by Tim Cole
A simple pixel stretching suitable for blog header design and etc.
STEP 1
Open a graphic that you have selected.. choose a square one.. Here, I'm using Malaysian batik motif...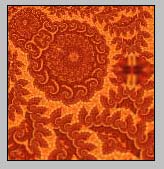
STEP 2
Now, change the canvas size to a rectangle shape.. Click on Image > Canvas Size and change the setting as below..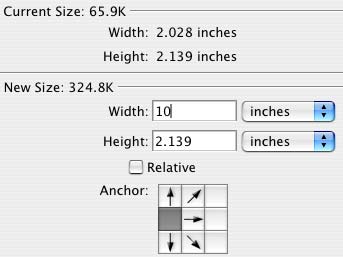
STEP 3
Then, select Single Column Marquee Tool..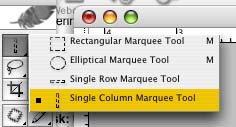
.. and make selection at as shown below
STEP 4
Press ctrl+C ( copy ) and ctrl+V ( paste ) and automatically a new layer will appear on the motif.
Then, press ctrl+T ( transform) and stretch the motif till to the end of the canvas.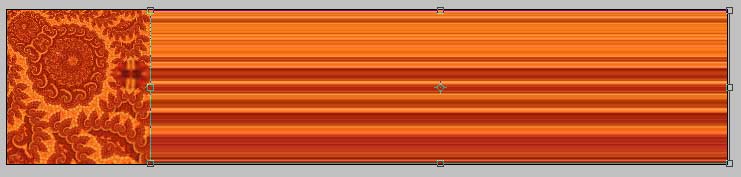
Click for larger image
LAST STEP
Add in your blog name or anything that you like.. Use your creativity by adding other elements of design..
or may be you can change the color using Hue & Saturation.. and there you go.. your own pixel stretching blog header.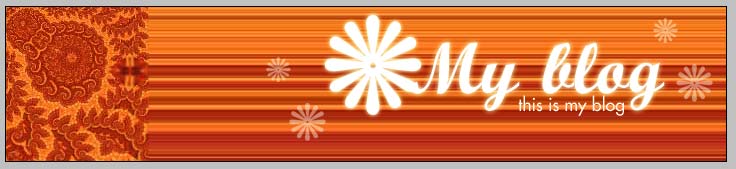
Click for larger image
download .psd here


