Halftone effect is another creative way to make an image looks more interesting rather than just a normal boring rectangular image. The tutorial below will show you step by step in creating this effect.
Step 1:
Select an image. I'm using the image below which I took during the Malaysian F1 Grand Prix 2006 at the Sepang International Circuit. ( click for larger images )
Step 2:
Adjust the canvas size (Image > Canvas Size) by adding some extra space around the image for you to apply the effect.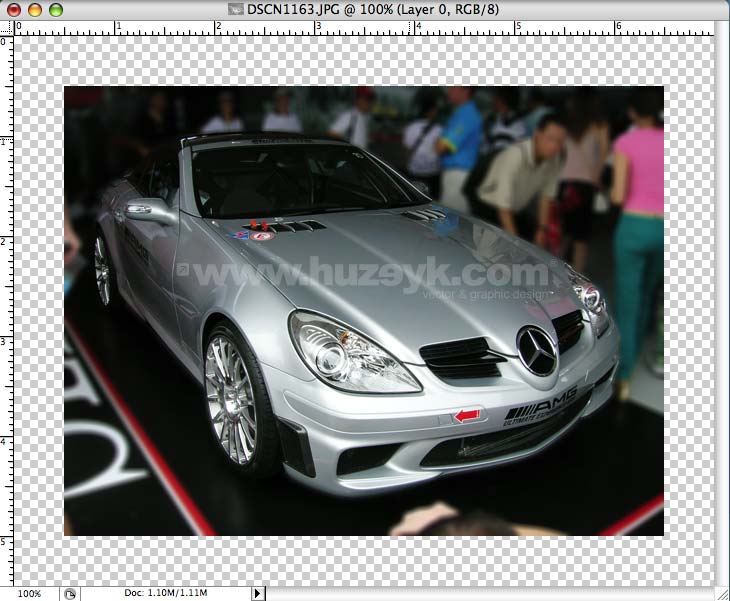
Step 3:
Select an area of the image that you would like to focus on by using the Rectangular Marquee or the Ellipticle Marquee Tool. Experiment with the Feather size (Select > Feather). Bigger pixel size means bigger halftone effect area. I'm using 0 px.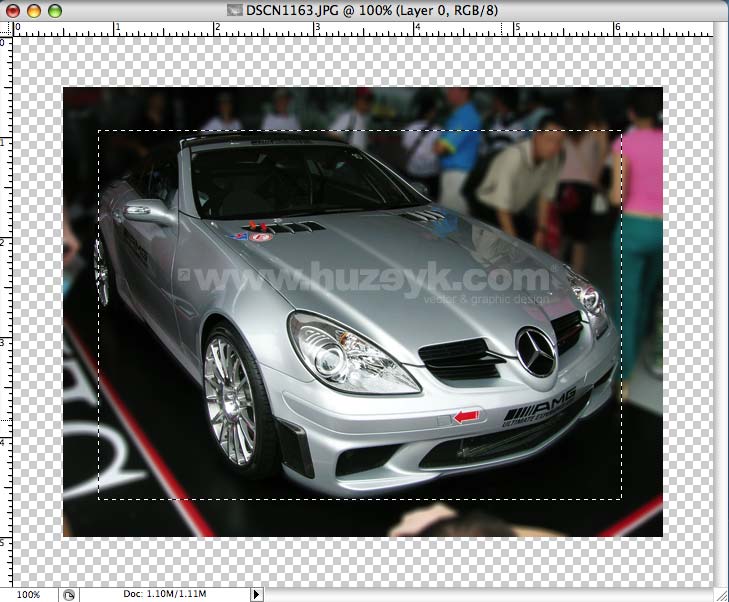
Step 4:
Inverse the selection area (Select > Inverse) or (Shortcut: Command + Shift + I).
Step 5:
Press the 'Q' key (shortcut for Quick Mask) and a red transparent box will appear.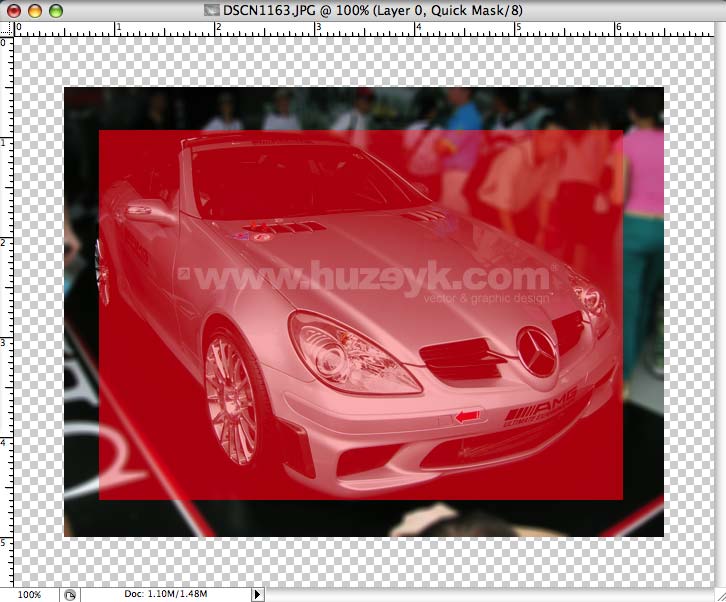
Step 6:
On the Photoshop Menu Bar, go to Filter > Pixelate > Color Halftone.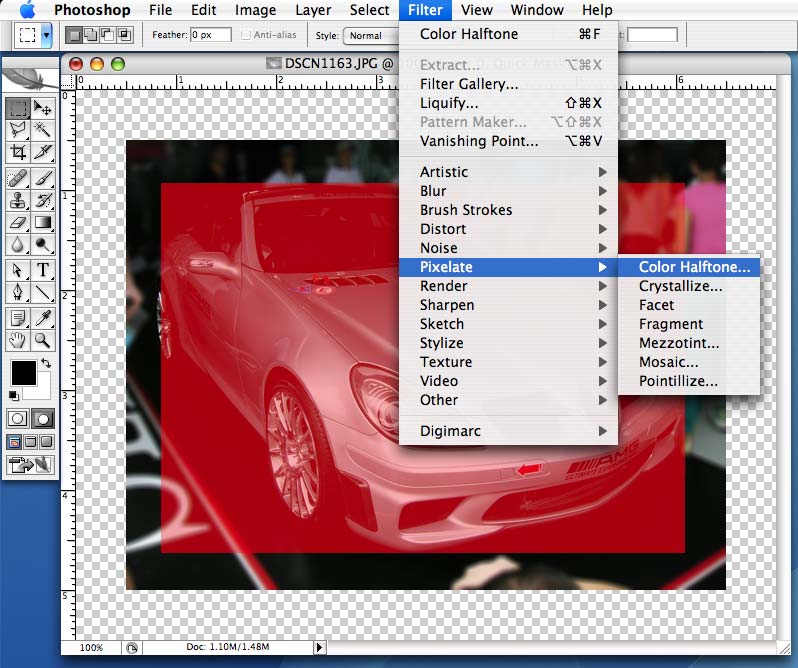
Step 7:
Color Halftone pop-up window will appear and I'm using the setting below. The bigger the Maximum Radius pixel size means the bigger the halftone circles will be. Then click OK.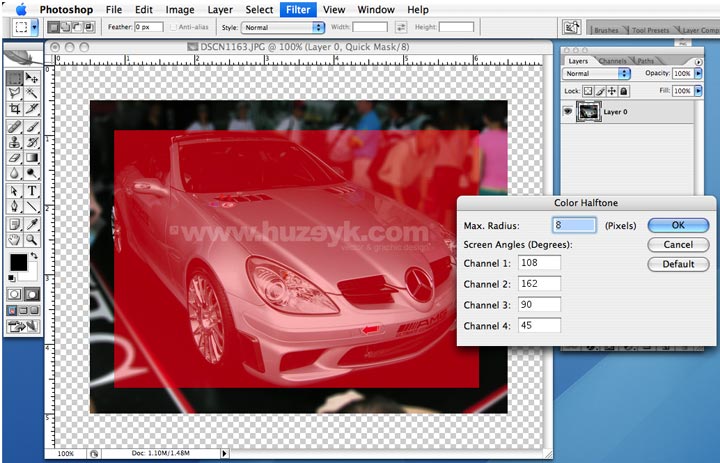
Step 8:
The red transparent box will show you the halftone effect area of the end result. If you are satisfied with it, proceed to the next step.
Step 9:
Press the 'Q' key again to release Quick Mask. A selection area will appear. Press Delete.
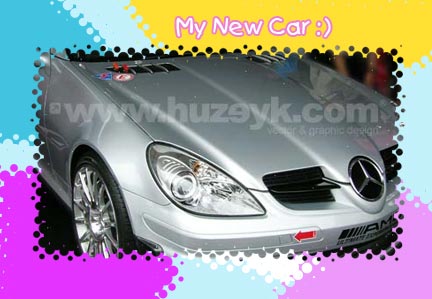
Step 10:
There you go. The end result of Halftone Effect.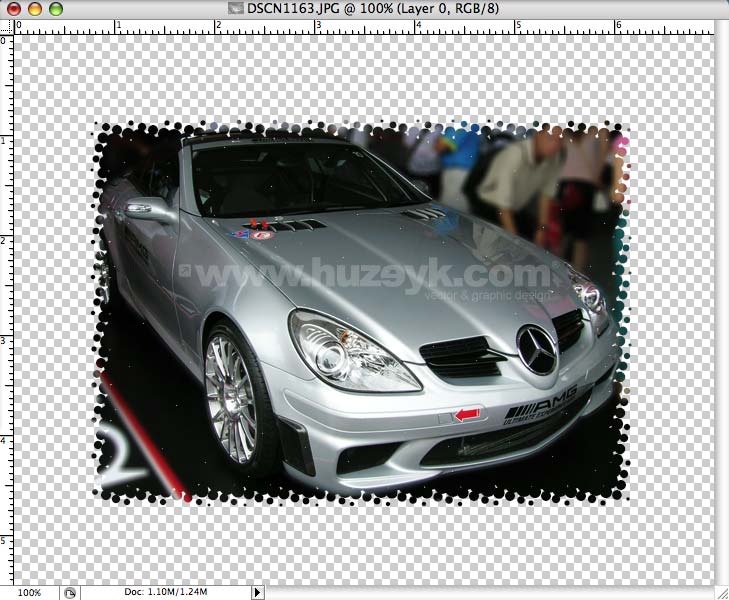
Related Tutorials
1. Creating photo border
2. Creative-photo-cropping
3.Free glossy button

blog of graphic resources and tutorial