Offset path command is used to duplicate a path outside or within the original path of a vector shape by a specified distance.
Step 1:
Create a vector shape. Select it and on the Illustrator Menu Bar, go to Object > Path > Offset Path.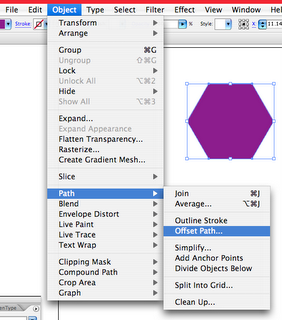
Step 2:
A pop-out window will appear and I'm using the setting below. Then, click OK.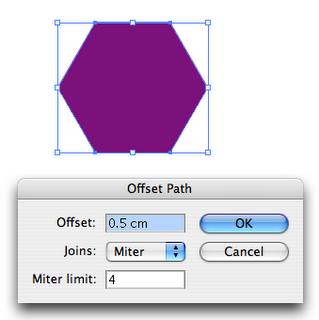
Step 3:
There you go. An offset path is created and I've coloured it with lime green.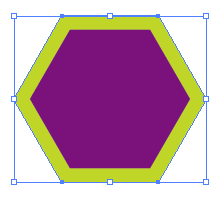
Step 4:
Try creating another offset path using a negative setting. The offset path created will be within the original path area which I've coloured with orange.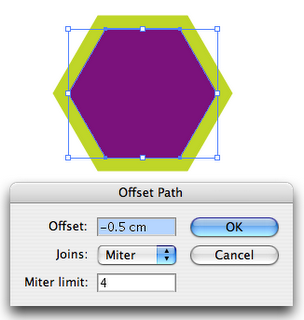
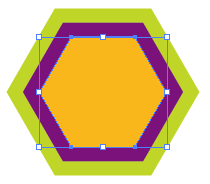
Easy, isn't it. Have fun experimenting offset path. You can also use it to give an extra impact in typeface design.
(Note: Make sure to create outline (Shortcut: Shift + Command + O) the fonts/words before applying offset path command.)
[10:59 AM
|
2
comments
]

2 comments
how did you get the white and black outline on the text to join up?
Hello,
I'm trying to make an set of action that have "offset Path" in it, but I encountered problem. When I Offset path the object, both of them are still selected, the object and the offset object. I only need the offset object to be selected so I can make it a guide. any advise?
Thanks!
Rob
Post a Comment